Small "eyebrows" are attached just above the doors to help keep rainwater from getting inside the camper when the door is opened. This will also enhance the appearance a bit. The eyebrows were added as an afterthought, but the folks at CLC say that they like them now that they are installed on the prototype.
Here the eyebrows have been tacked to the shell with quick-setting glue. The eyebrows should be planar with the panel above, that is, a straightedge held against the panel should also lie flat on the eyebrow. I managed this on most of the eyebrows' length, but toward each end they were too narrow to fully twist, and if I tried too hard they broke away from the glue. Overall though, they look fine. The next step is to add fillets of thickened epoxy above and below the eyebrow. On the top surface, the fillet completes the flat, planar surface from panel to eyebrow.

Here's a shot of the top fillet. Looks pretty good. Following the instructions, I mounted masking tape above the fillet to get a nice straight edge on it on the panel side. The line on the eyebrow side was determined by the eyebrow itself. I did not try to get a shot of the underside fillet, which was much more difficult to get in place. I finally ended up using one of my caulking-gun tubes to get it up into the very narrow groove. I used a 1/8" radius filleting tool to even it out as best I could, and smoothed it with gloved fingers and alcohol when it started to gel. Looks OK for the most part, but nothing to brag about. Toward the ends I could not reach it even with my little finger.

Here, a strip of fiberglass tape has been added to strengthen the eyebrow. I had to use fiberglass tape because I didn't have any fiberglass cloth left over that was long enough. Didn't want to use the tape because of the selvedged edges that are hard to feather, and because the roll I have has a coupe creases that will not lie flat. (Forgot to get any pictures, but I'll show you this in the following post.)
This is after sanding. You can see a couple areas where I sanded through to raw wood while trying to feather the selvedged edge of the tape. Will have to fix those later--not a huge problem.
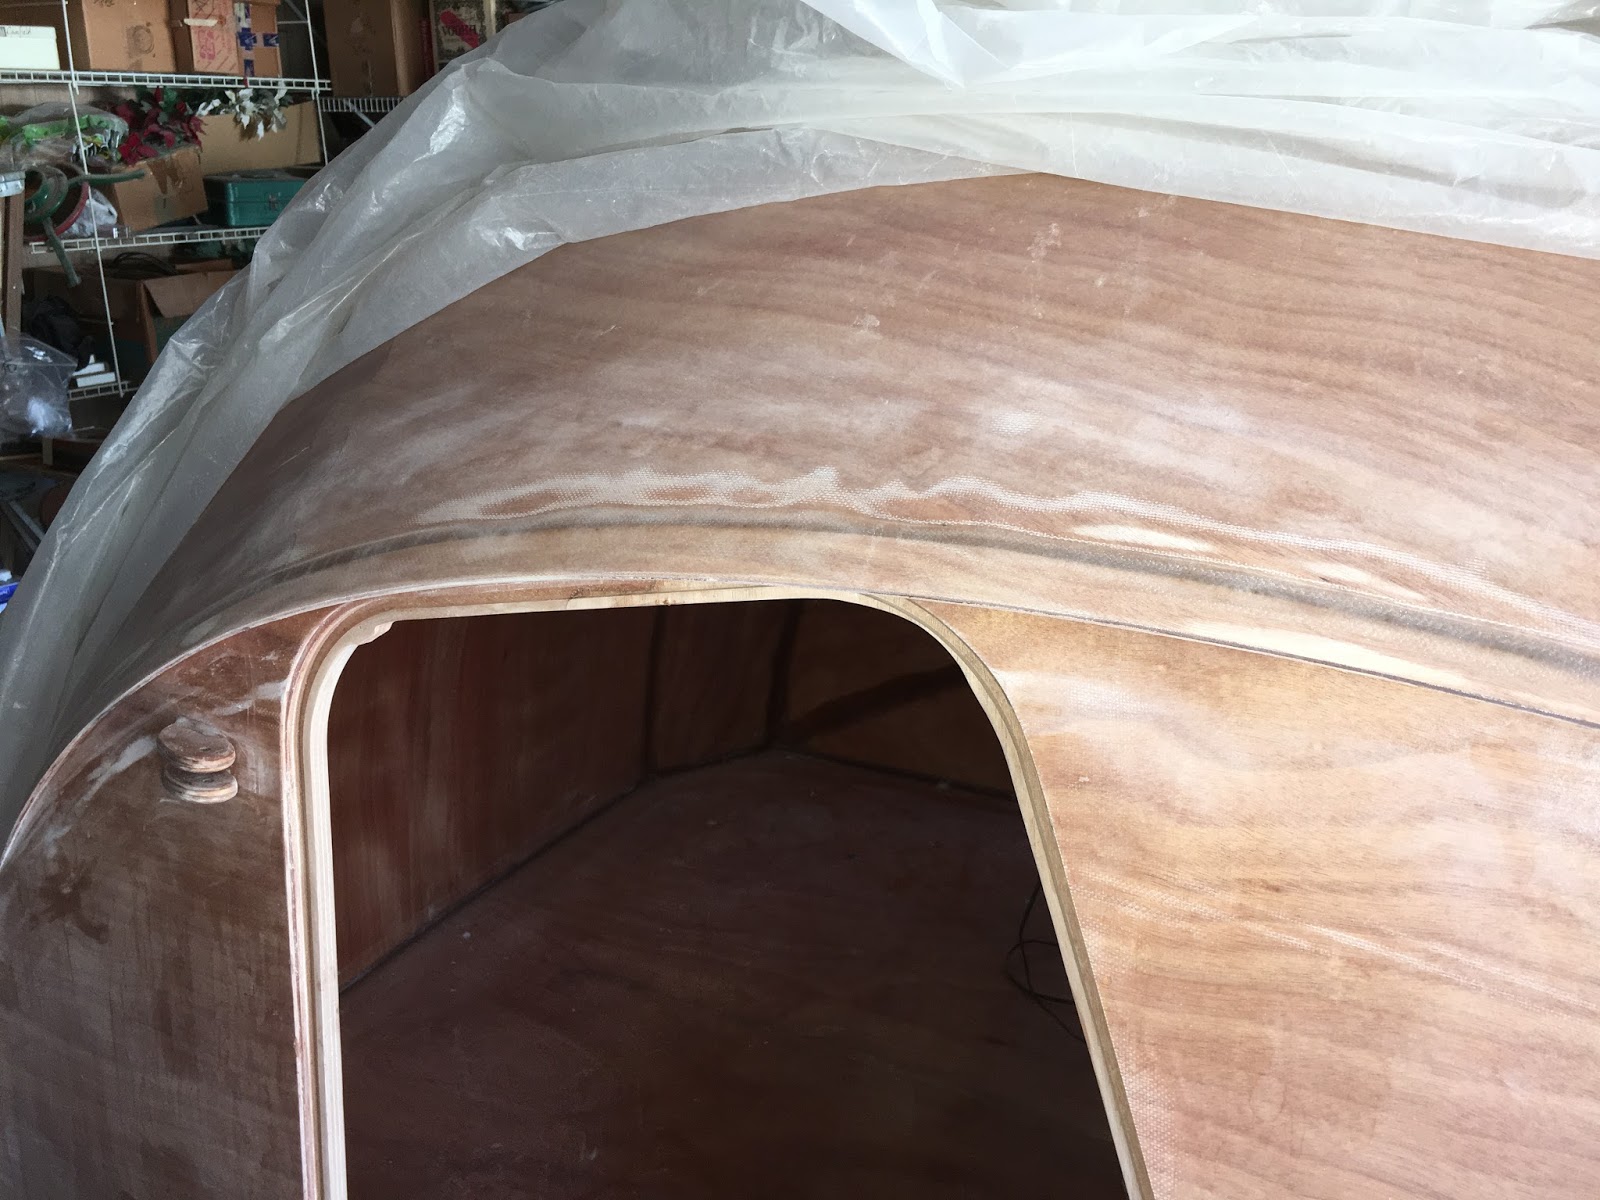
Even though I got the eyebrows planar, and if anything they are mounted a little high, I still had a problem with the door on the starboard side rubbing the eyebrow. I shaved the eyebrows back about 1/8" on each side to correct this.