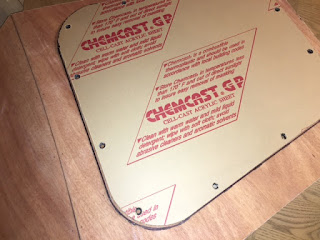
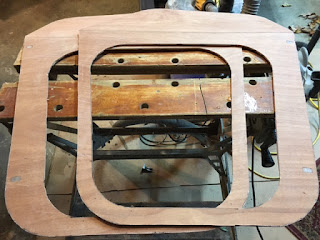
First, the cut lines for the windows are marked. To get the curves right on the corners, I used the pre-cut acrylic windows as a guide.
The windows are different for each side, so after careful comparisons, I labeled both the window and door. Starboard side is shown.
The window openings have been cut out on each door. Much careful sanding followed to get the sides as straight and the curves as "perfect" as possible. Also, I made sure the windows fit easily into the openings. The window goes just inside the opening and the edges of the plywood will be visible, so I did them as well as I possibly could. This will also hold true for the doors and hatches and their respective openings. The "sill" (to which the window will be mounted) has been fitted to the window opening and glued in place. It is especially important to clean up squeezed out glue on the face of the sill. Once it has hardened, it becomes extremely difficult to remove and it has to be cleaned off for the window to fit properly.
NOTE TO BUILDERS: If you haven't already done so, now is the time to use rat-tail and small flat files to clean any epoxy and fiberglass out of the hinge-mounting holes on the door. Do this before adding the stiffeners in the next step. The stiffeners cover part of the bottom hole and make it much more difficult to clean it out. Also make sure any squeezed-out epoxy from the stiffeners is cleaned out of the hinge-mounting holes before it starts to harden.
The sills have cured and now the door stiffeners are sanded and glued on.
Stiffeners are installed on both doors and they are inside the house now for curing. Later on, work will continue on the doors--coating the inside with epoxy, installing the windows, adding hardware and hinges, and several other details. For now, it's back to sanding the interior of the camper shell.


so many clamps.. sometime needed to pinch a fat girl..
ReplyDeleteroom-us